Distribution

The object distribution panel lets you distribute a collection of objectss over a terrain.
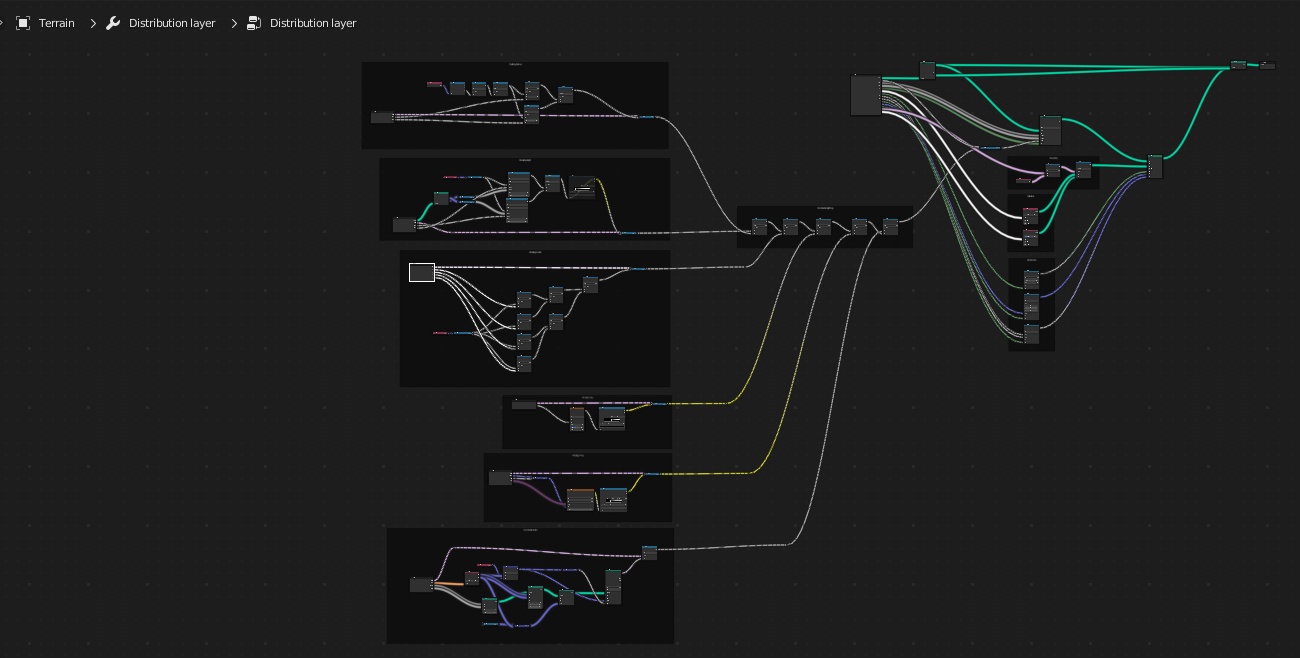
This is based on a geometry nodes network that is added as a modifier in the terrain. Besides using the Distribution panel, you can tweak and change the network manually by going to the Geometry Nodes editor.
Layers
The object distribution system is based on independent layers, each with its own settings and visibility.
You can toggle layers by clicking the checkbox next to their name in the list. You can also rename them by double clicking on the name. Clicking on the + icon at the bottom gives you search and sorting options (like any list in Blender). The three-line button will give you access to other actions like cloning the selected layer, clearing the list or removing only the particle systems.
The main setting to change is collection, which sets which collection of objects to use for the distribution. You can also tweak the seed of the positions with the seed setting, and which item is picked from the collection with item seed.
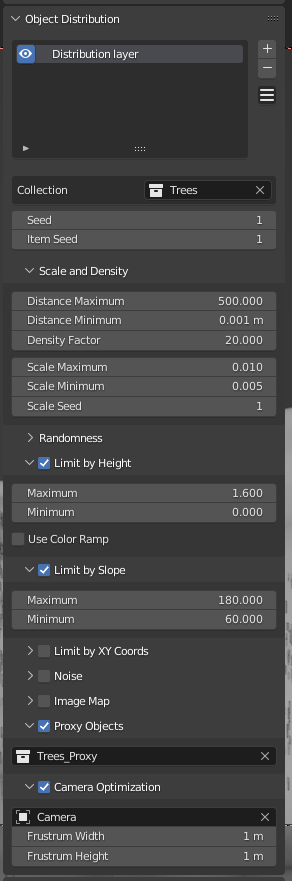
Scale and density
Controls the amount of objects, their distances and scales. The total amount of objects in the terrain is determined by how many can fit in. For instance, if you increase Distance Minimum, less objects will fit in. This will make the distribution more sparse.
On the other hand, increasing Distance Maximum would allow more objects in.
You can use Density Factor to bump the total density when using a limiter (like Noise, limit by XY Coords, etc).
Finally, Scale seed lets you play try different distributions of the random scales.
Randomness
Controls the rotation of the objects in the XYZ axes. You can also change the seed of the rotation.
Limit by height
Control the location and density of objects using the terrain’s height.
The numbers are in local (object) coordinates.
Limit by slope
Control the location and density of objects with the slope of the terrain.
The numbers are angles in degrees.
Limit by XY coords
Limit the location of objects to an area defined by four points:
Min and maximum on the X axis
Min and maximum on the Y axis
The numbers are local (object) coordinates.
Noise
Limit the density of objects with a simple noise texture. You can control the scale, as well as the contrast with the color ramp.
Image map
Lets you limit the location and density of objects with an image. You can also change the angle and control the contrast with a color ramp.
Think of the angle as moving a plane around the Z axis.
Proxy Objects
Lets you select a different collection to show on the viewport. Use this when your objects are high-poly, or they slow down the viewport for any reason.
You can pick a collecion with low poly objects to work more smoothly, and when you render (eg, F12) the main collection will be used instead.
Camera Optimization
Shows only the objects visible to the selected camera. The frustrum width and height let you control the “spread” of the camera view, so you can also have objects outside of the camera that produce shadows or reflections.